Now that your ARIA® has arrived, we want to help make your pumping experience easier. Follow these steps so that you're ready to get pumping!
Wash all the pump components - except for the motor!
Prior to using the Lactivate® ARIA® Wearable Breast Pump for the first time, it's essential to clean all components that will come into contact with your breastmilk to ensure it is safe to feed to baby.
- Wash your hands
- Dismantle your pump, separating each piece to be washed individually (not including the pump motor - not to come into contact with water)
- Wash your pump parts in warm, soapy water. Take care cleaning the diaphragm and values, these are really important parts to the suction of your pump
- Allow to air dry completely before use
These guidelines are provided by the Australian Breastfeeding Association. We don’t recommended using steam steriliser or boiling water as the plastic parts can warp with high heat tempartures. UV sterilisers can also reduce the lifespan of pumping parts.
Charging the motor
Although there will be some charge in the motor on arrival, we recommend charging the pump motor prior to first use.
How to assemble the Lactivate® ARIA® Wearable Breast Pump
Assembling your ARIA® is super easy if you just follow the steps outlined below:
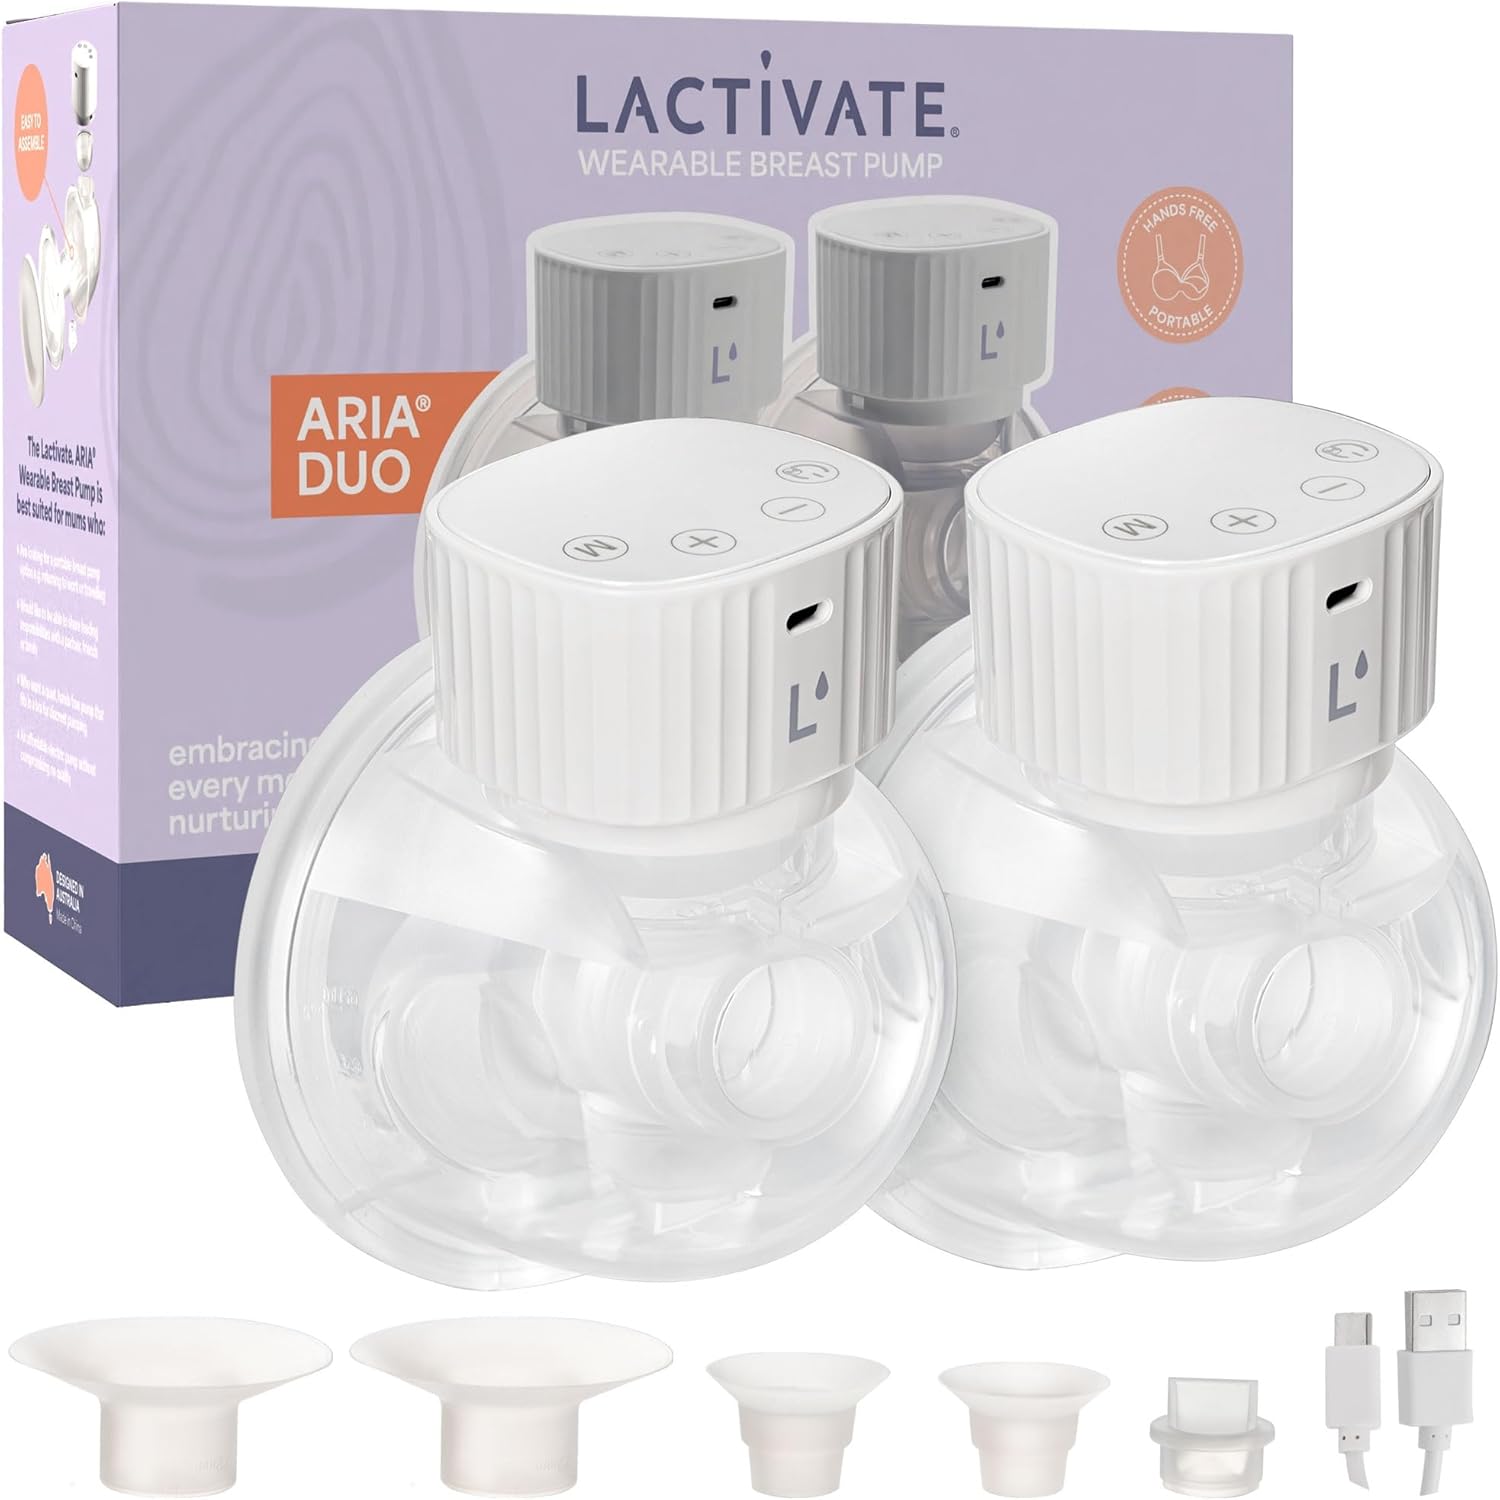
- Insert the valve into the silicone connector
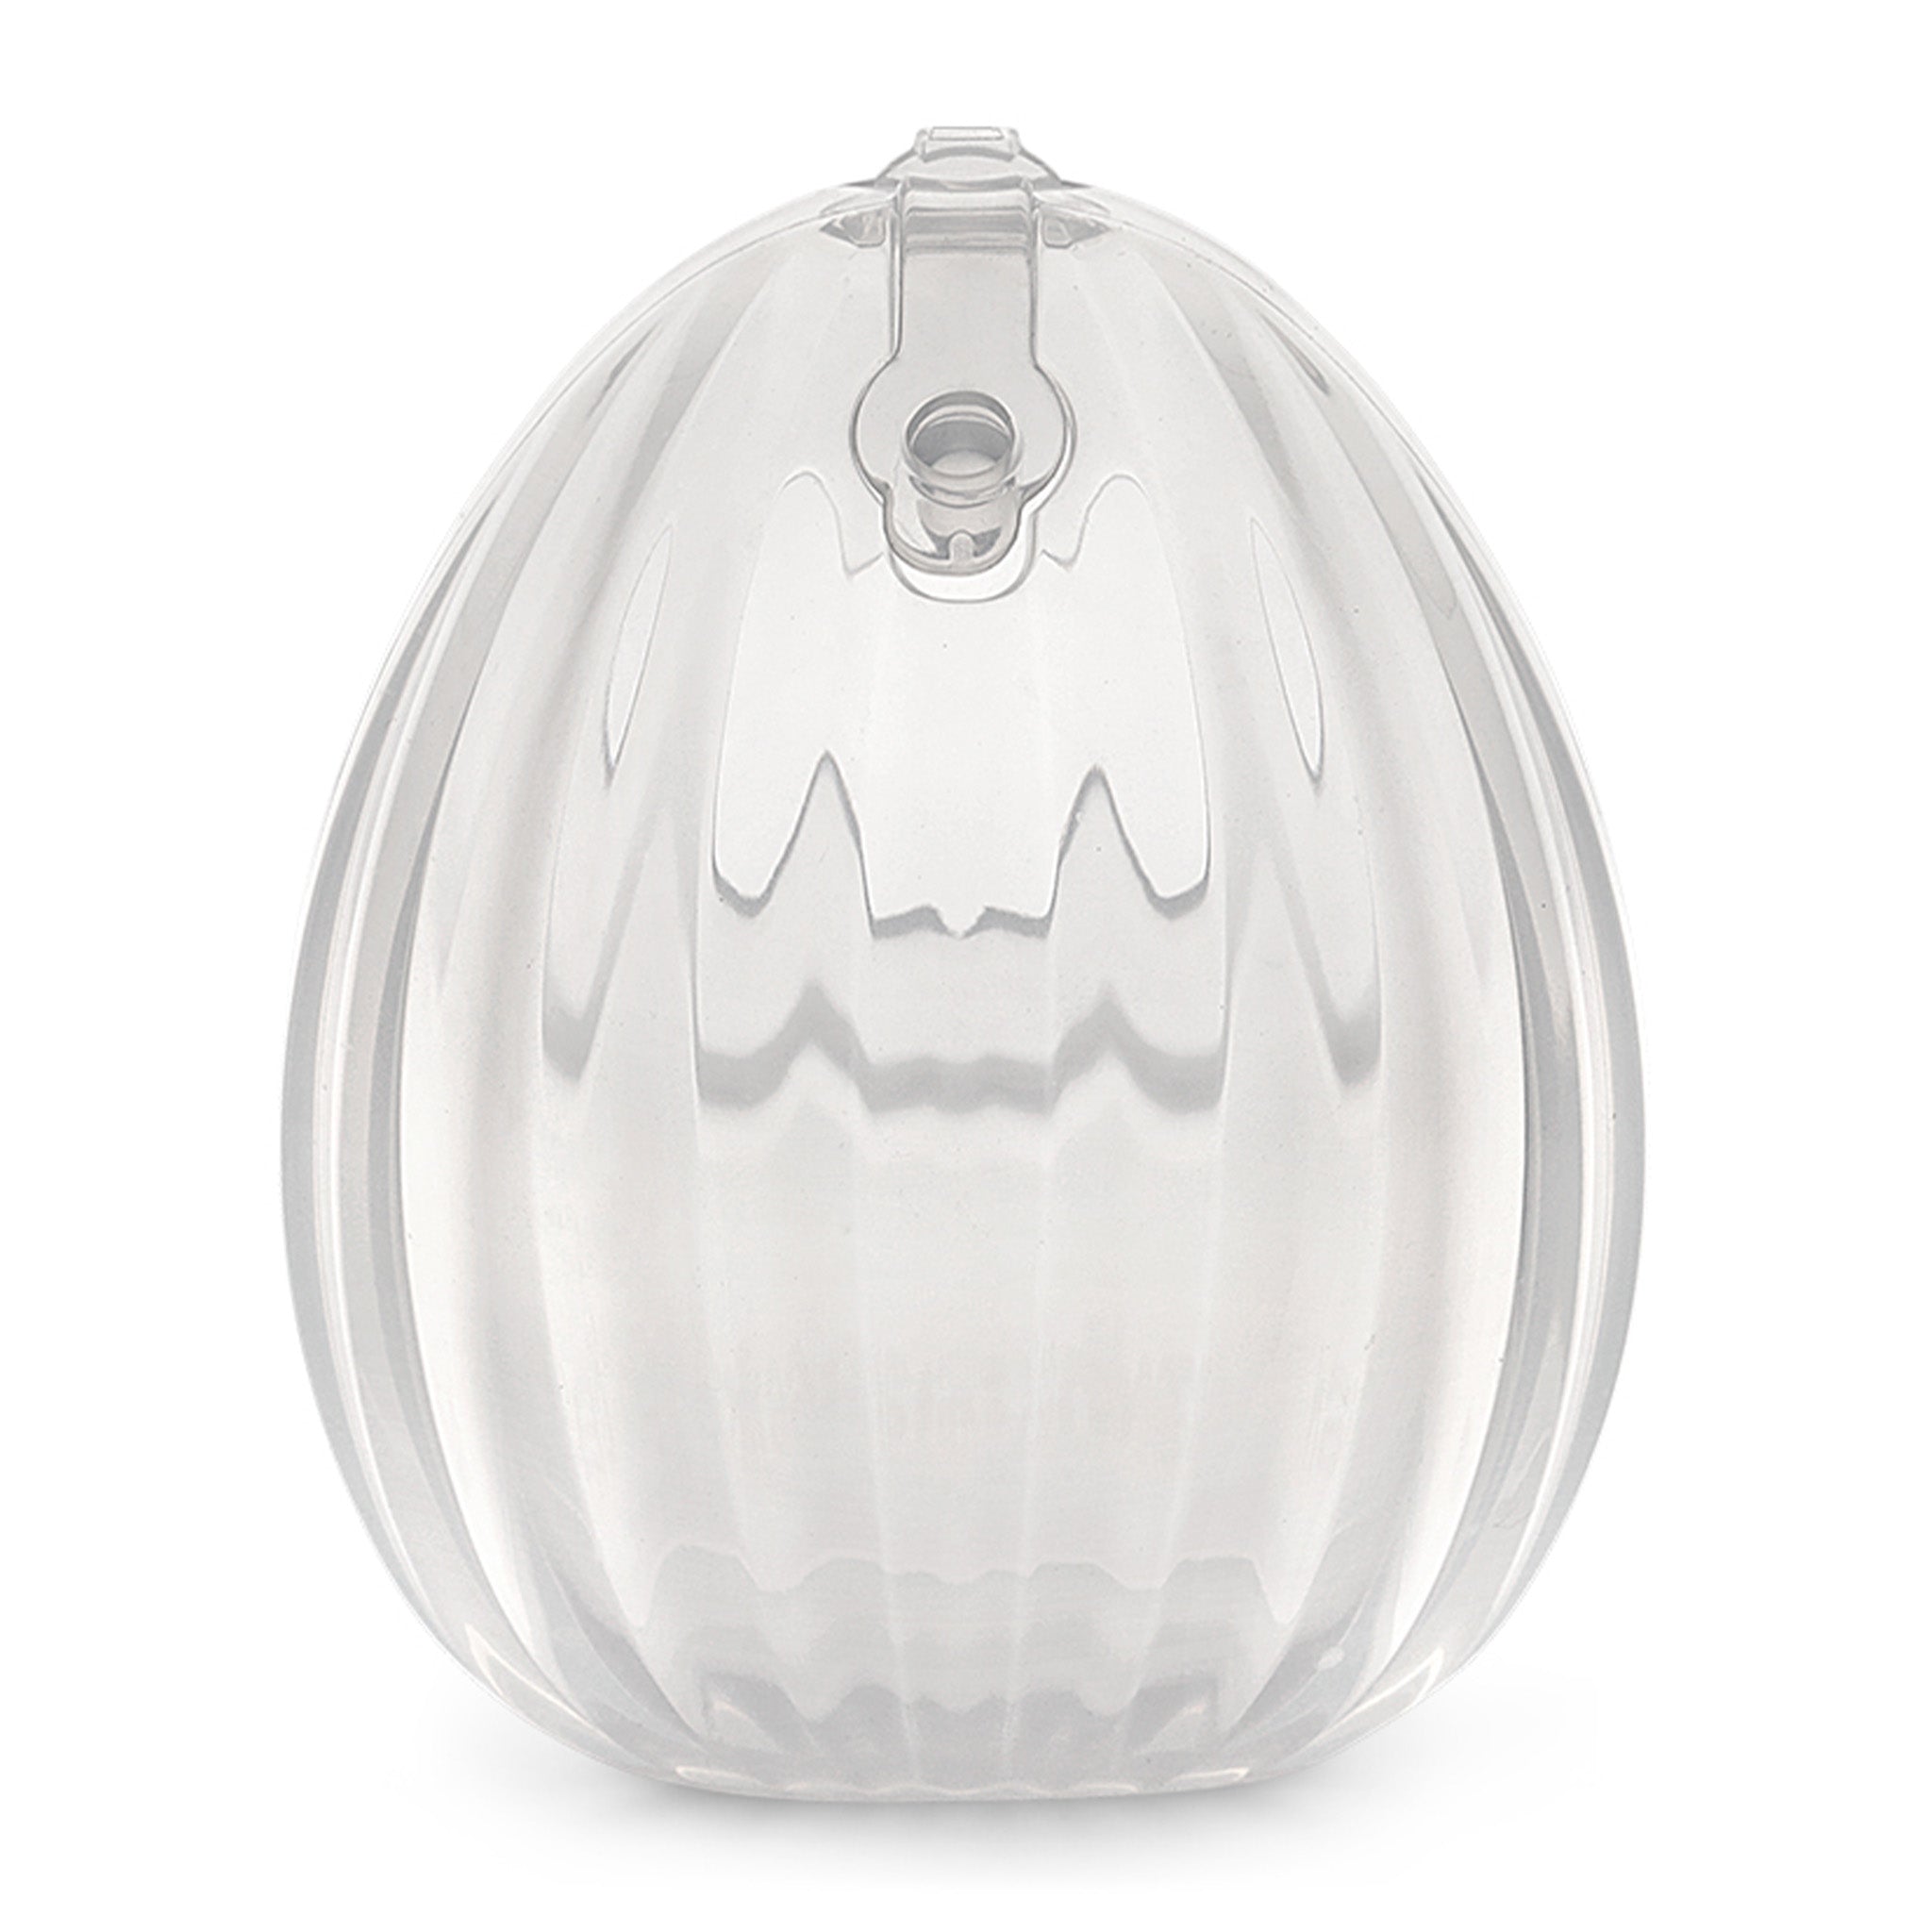
- Insert the silicone shield into the collection cup and make sure the valve is pointing away from the motor and down into the collection cup
- Make sure the shield is sealed around the outside collection cup
- Place the diaphragm into the top of the collection cup
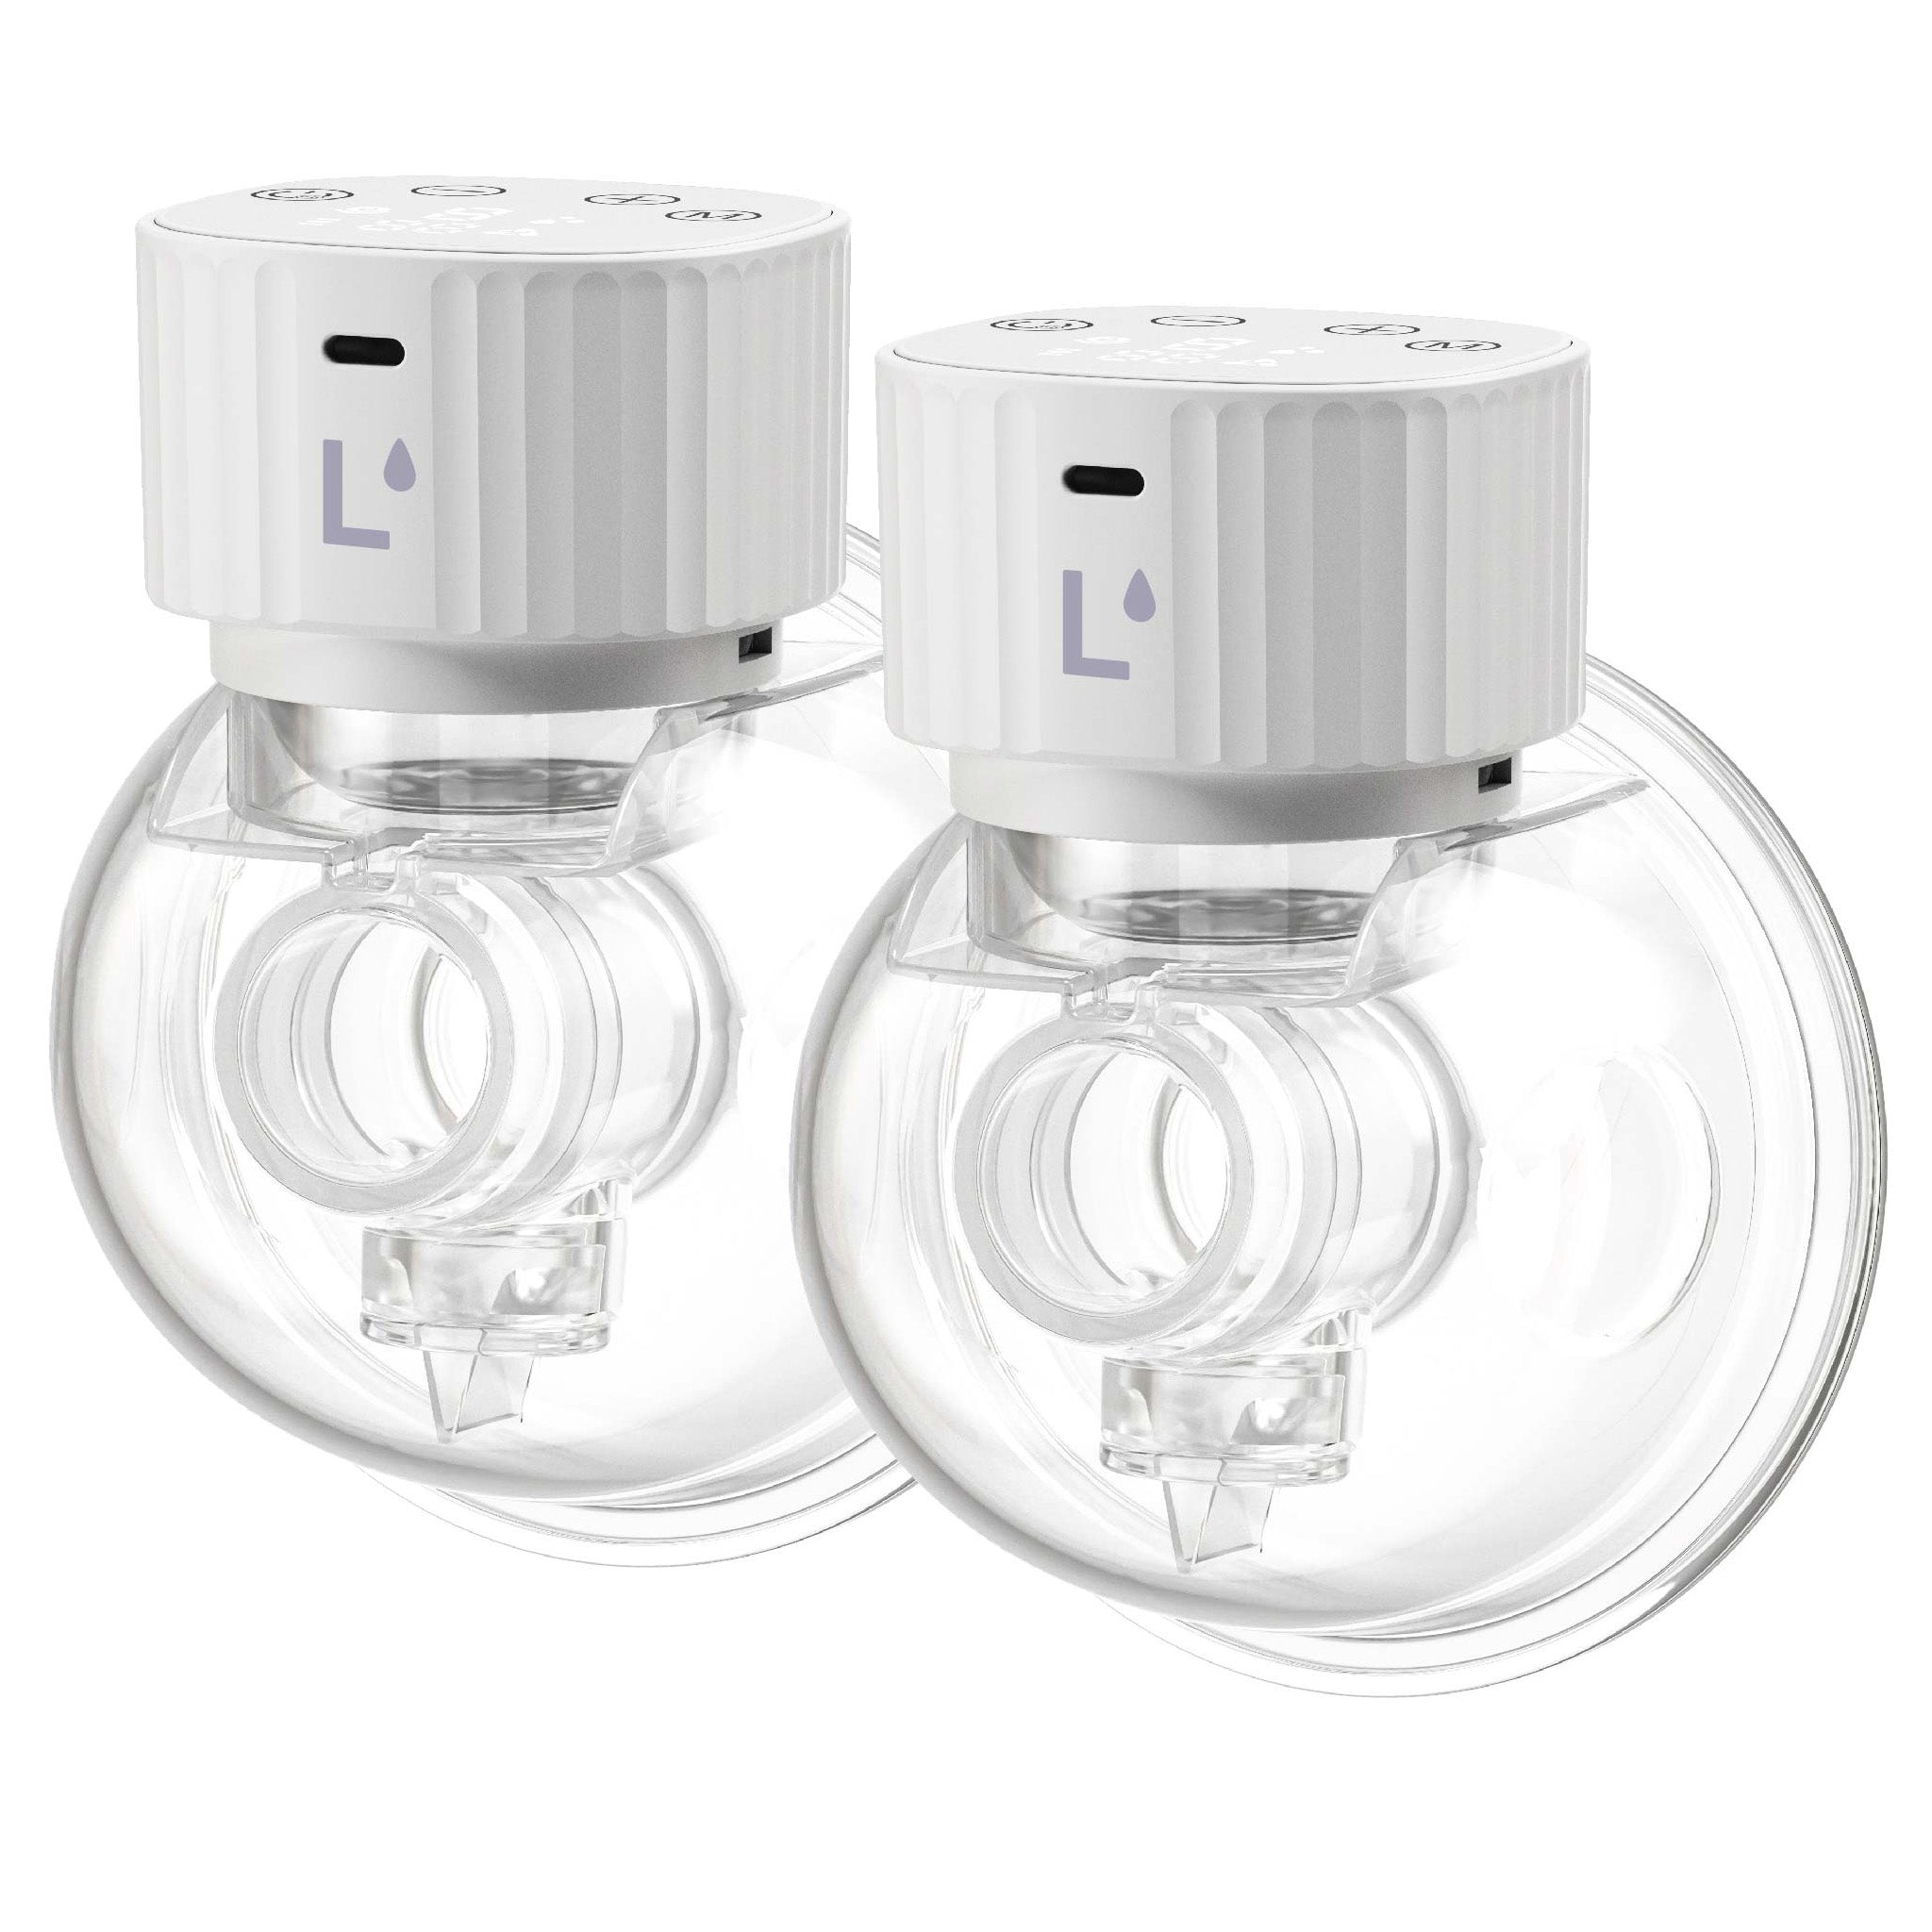
- Press and rotate pump motor onto the collector cup in clockwise direction and make sure the logo is facing outward (opposite to pump opening).
How to choose the right breast shield size
Using the incorrect breast shield could reduce your milk flow output and make pumping painful. The ARIA standard size is 26mm and comes with 4 additional breast shield inserts - 22mm, 19mm, 17mm, 15mm.
Here is our guide on how to find your correct breast shield size
Now get ready to start pumping
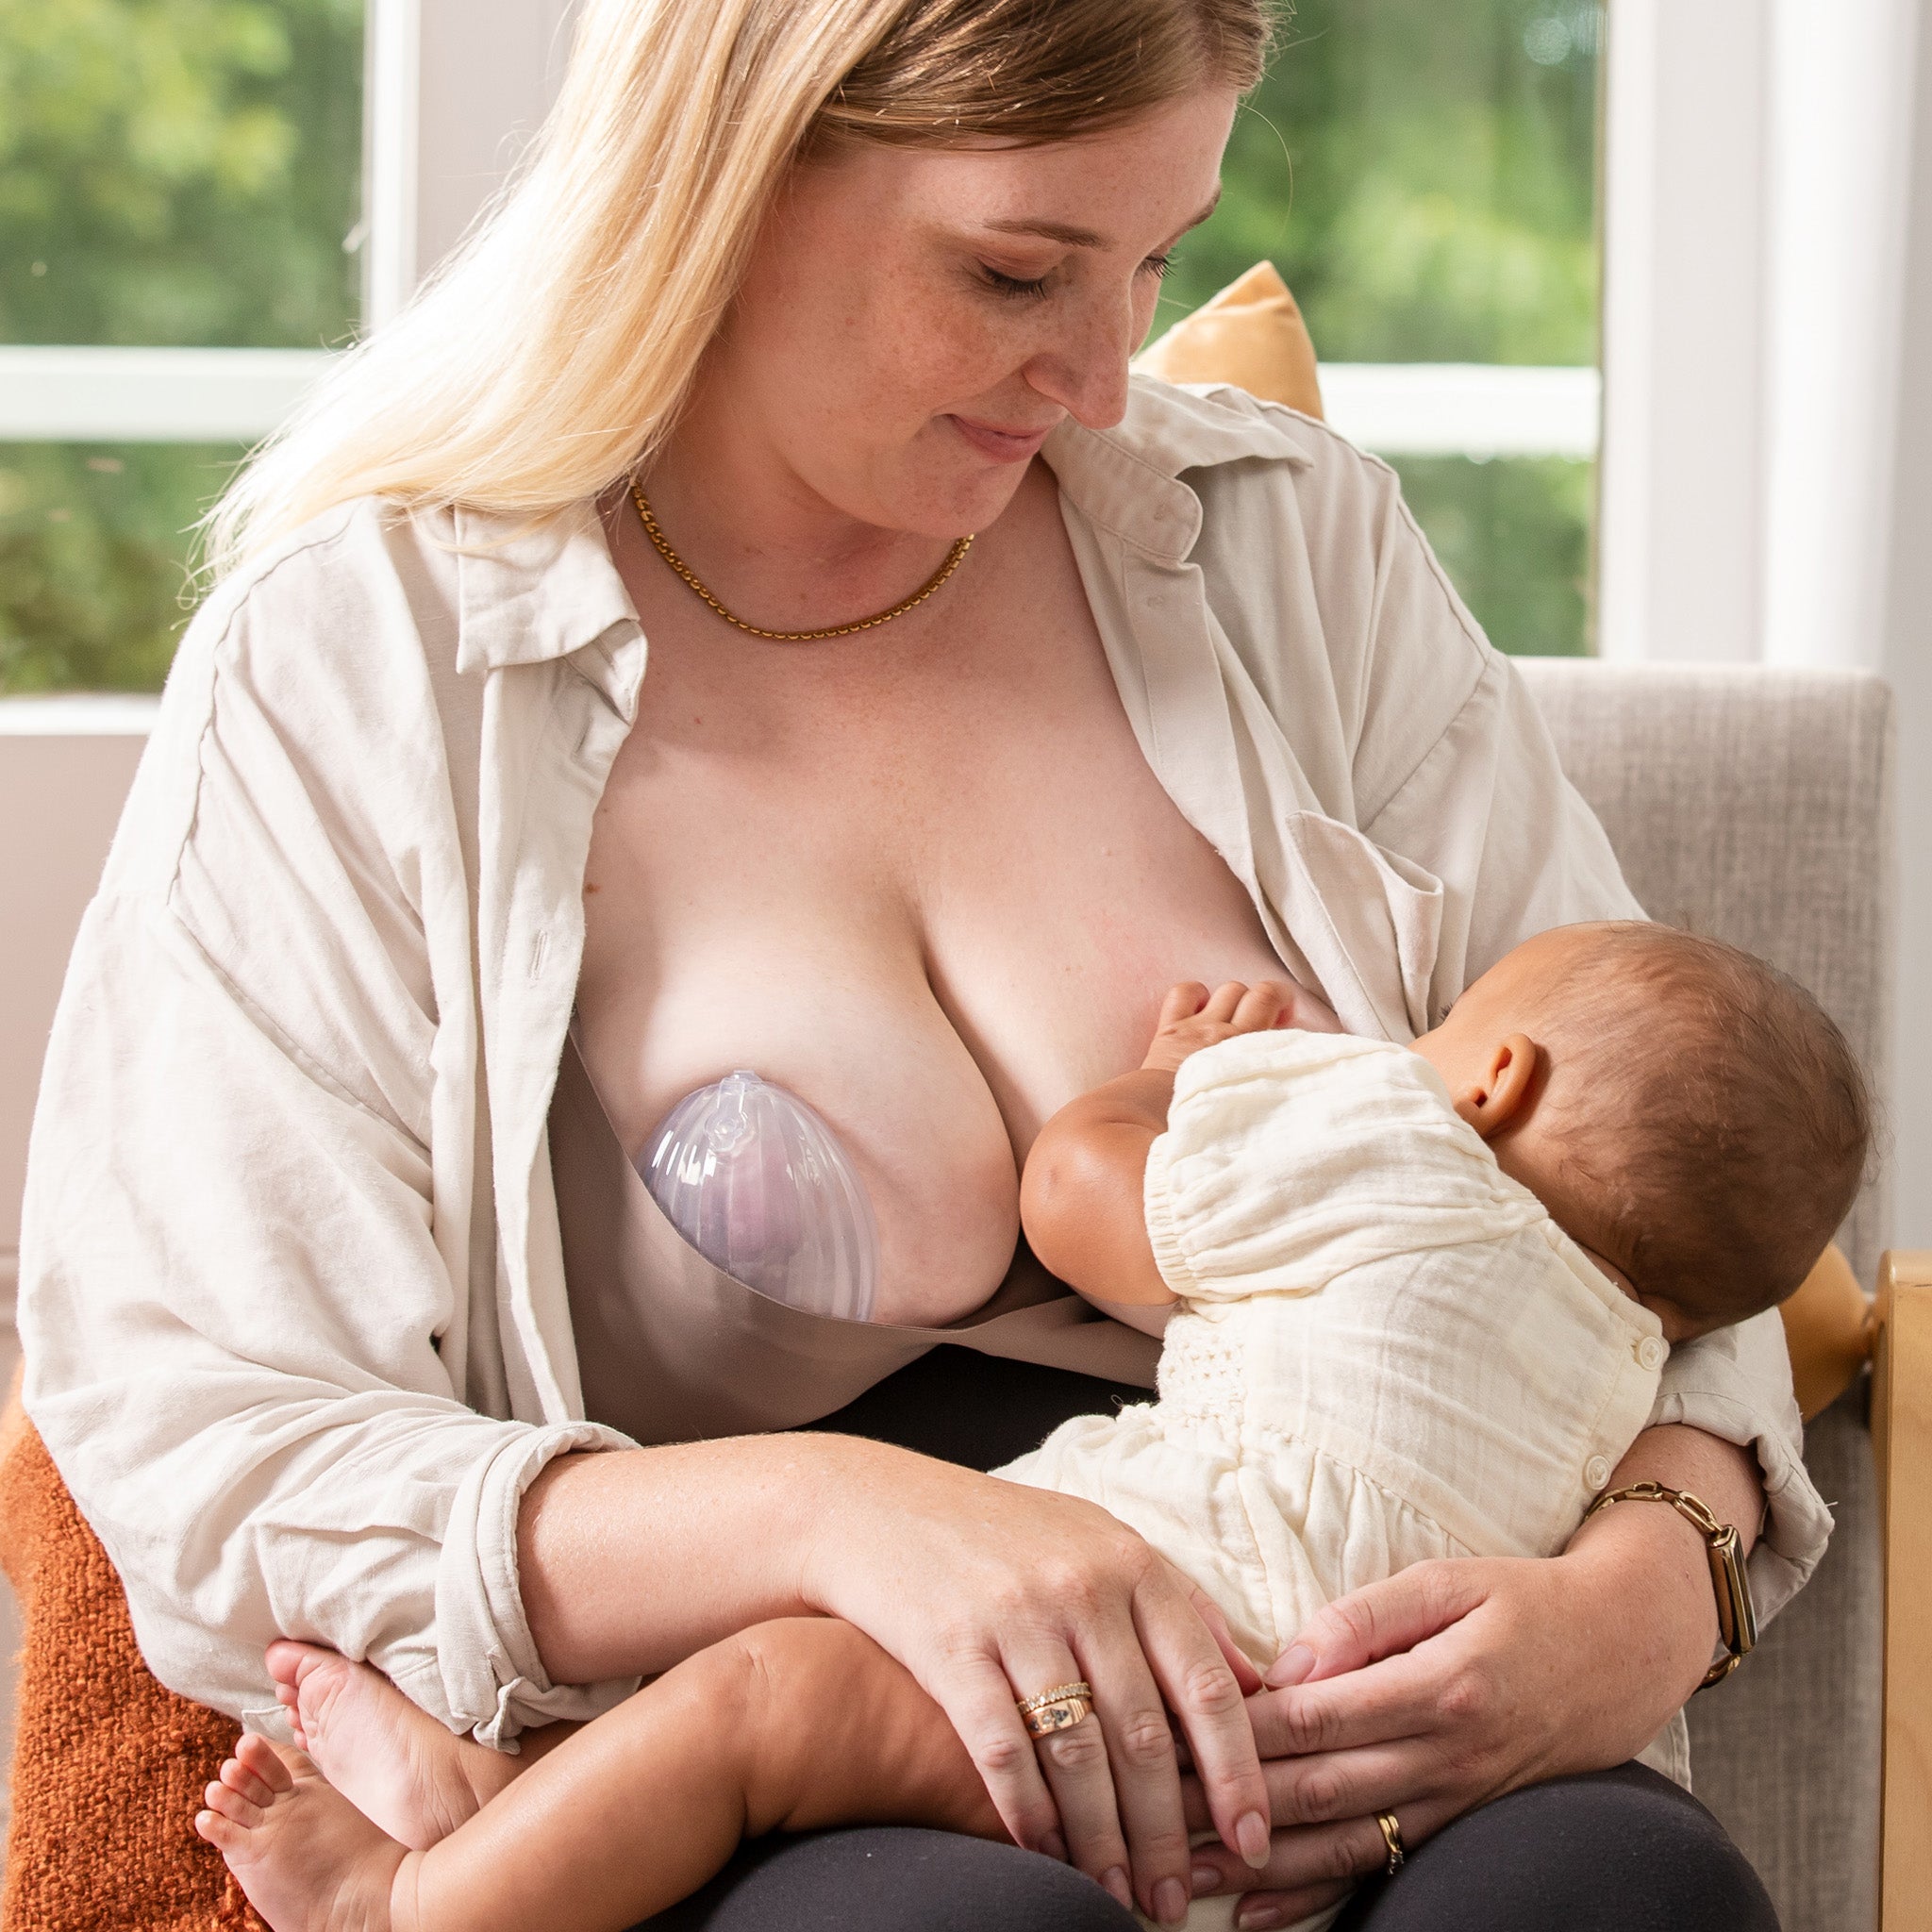
Place the pump into your nursing bra making sure your nipple is in the centre. Ensure you have breast tissue coverage creating a seal around the pump opening. The pump needs to be sitting securely to your breast but not so tight that you feel constricted and uncomfortable.
How to turn the pump on and select the right mode
- Turn on by holding the power button for 2 seconds
- Your breast pump will begin in let down mode, you can change the modes to expression or mixed mode by tapping the 'mode' button, and alter the strength to suit your needs using the - and + symbols. When switched on, the pump’s memory will automatically use the setting that was previously last used
- The pump will automatically switch off after 30 minutes.
Collecting and Storing Milk
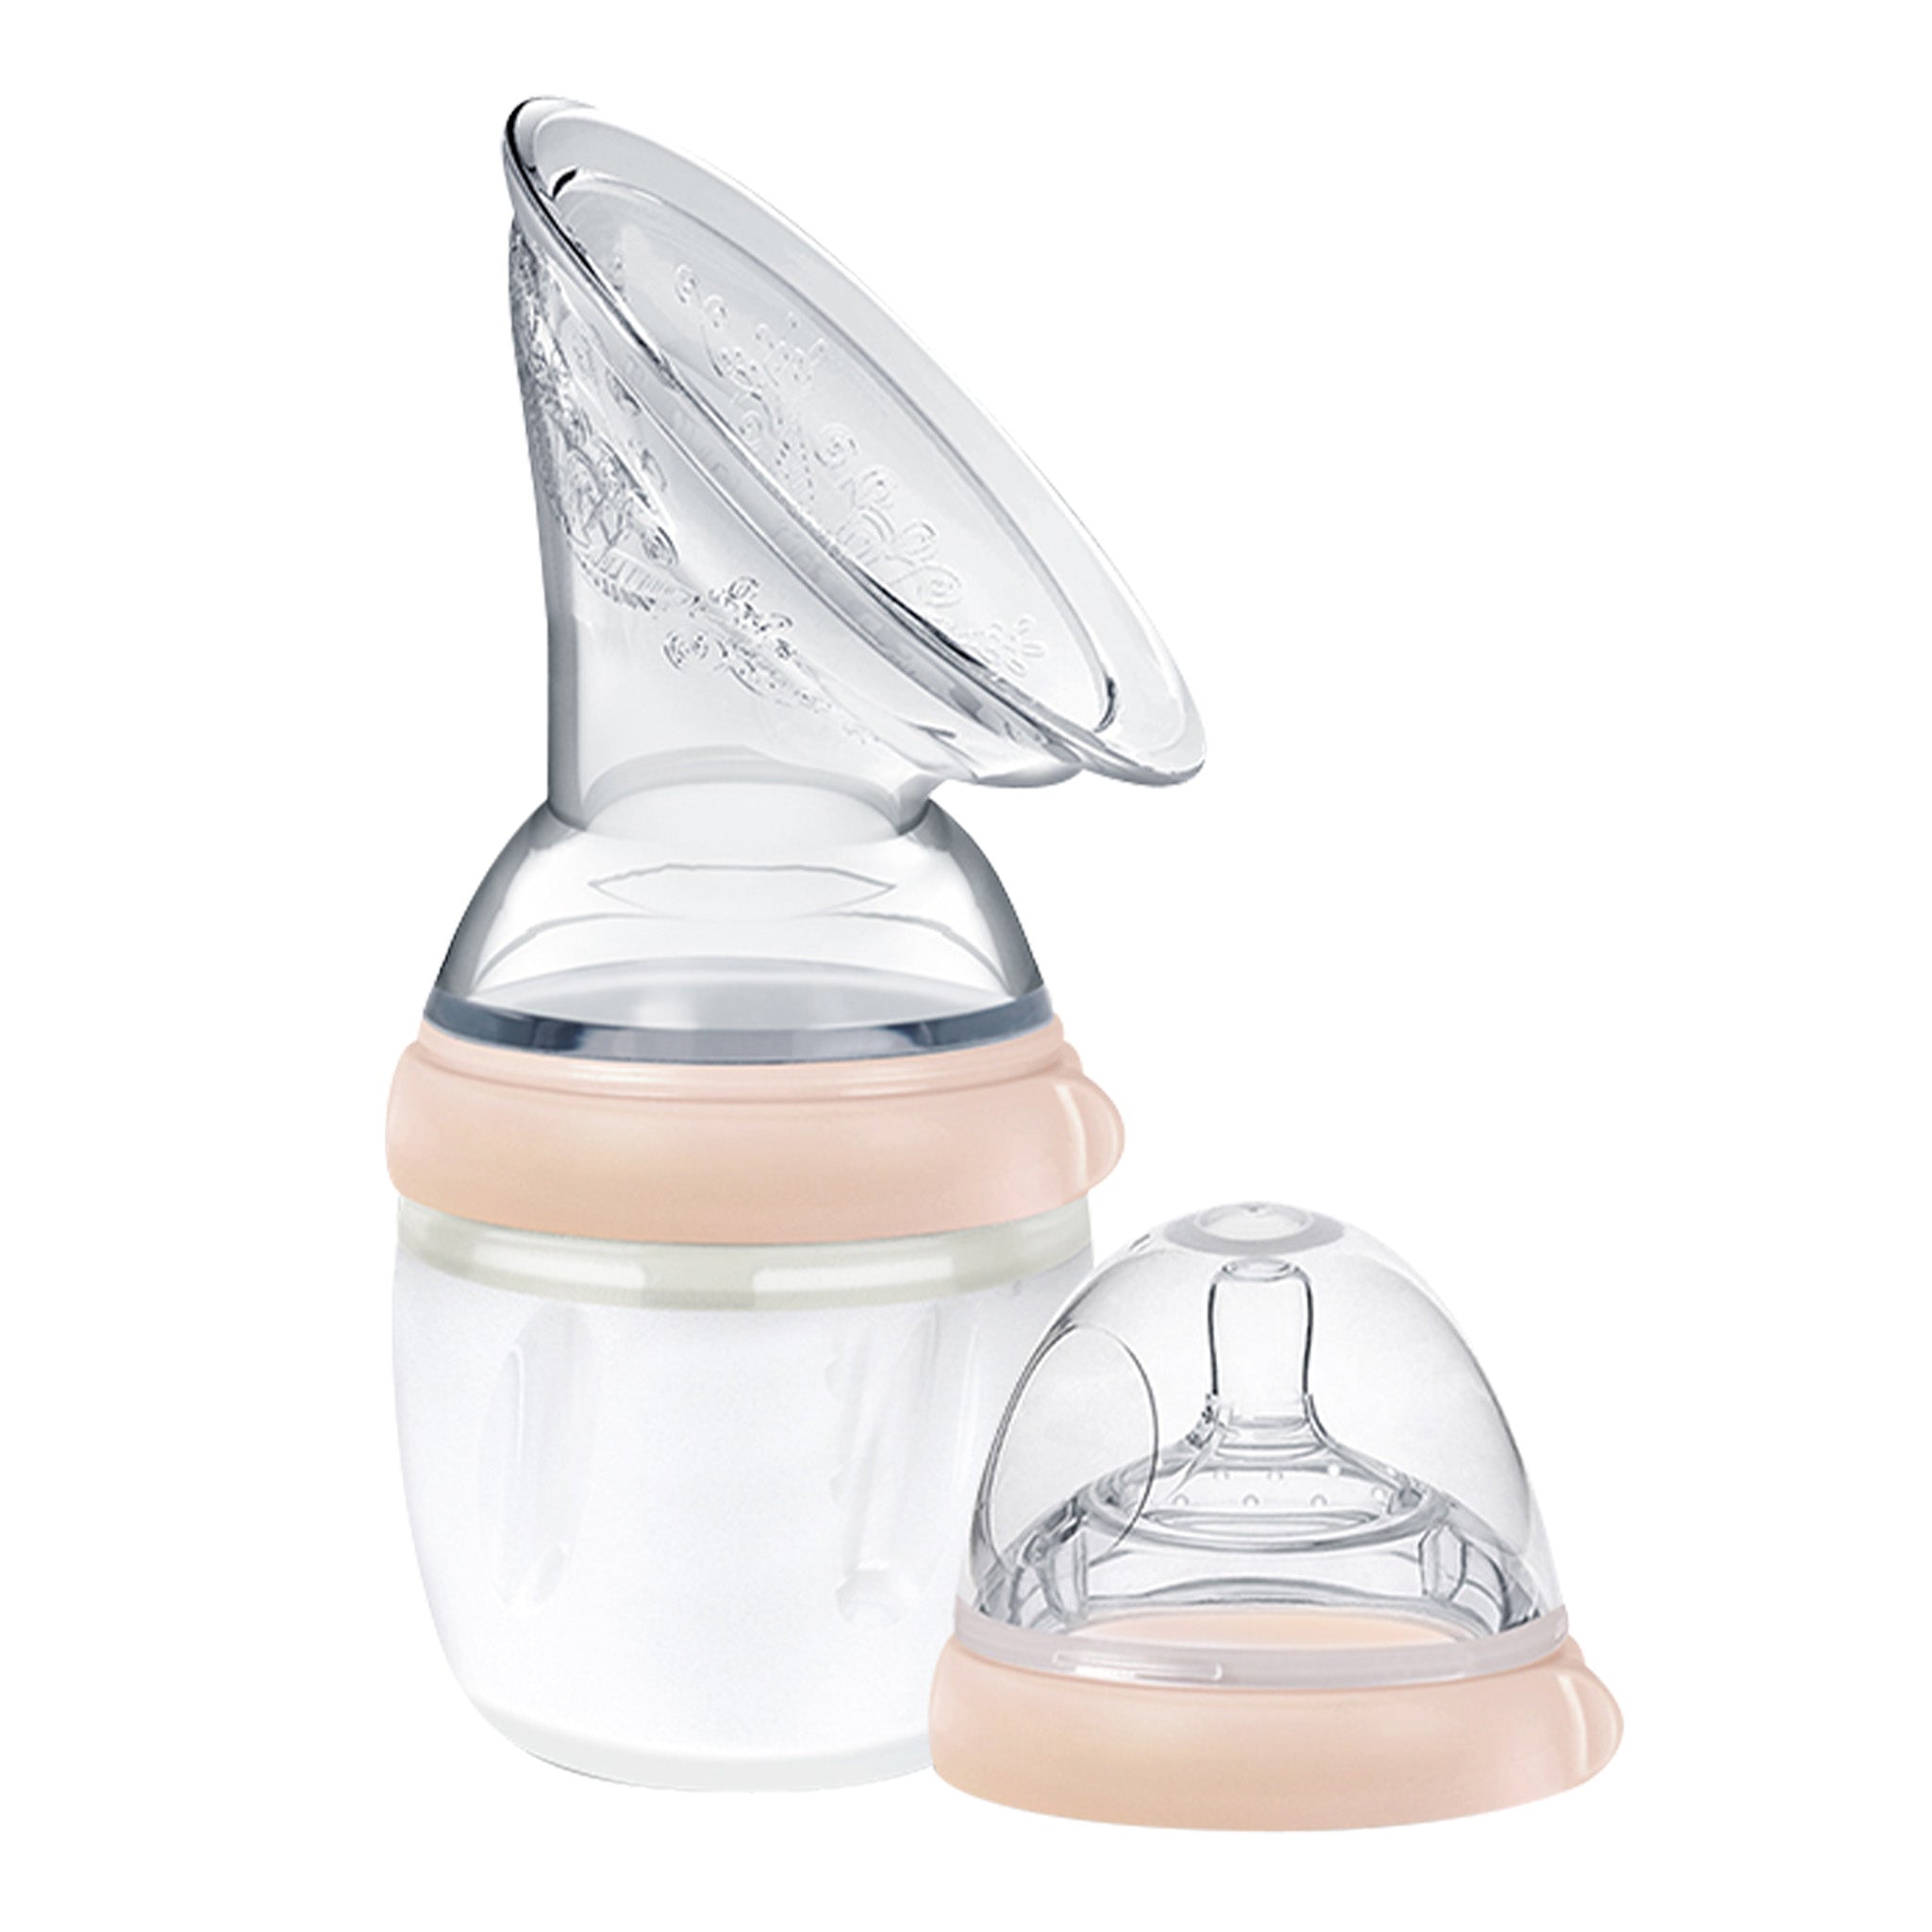
Once you're satisfied with the amount of milk expressed, turn off the pump. To pour your milk into a storage bag or bottle, simply follow these instructions:
- Rotate the pump motor in an anti-clockwise direction and take it off (to the left).
- Insert the silicone stopper into the collection cup.
- Place your palm over the breast flange opening with your fingers pointing upwards in the direction of the pump motor and the tip forward towards your storage option to pour milk out. See photo's below.
Important - After pumping, don't place your pump with collected breastmilk down with the motor attached as this may cause breastmilk to backflow into the pump motor.
Additional Blog
For more breastfeeding resources and blogs, check out our resource section

